


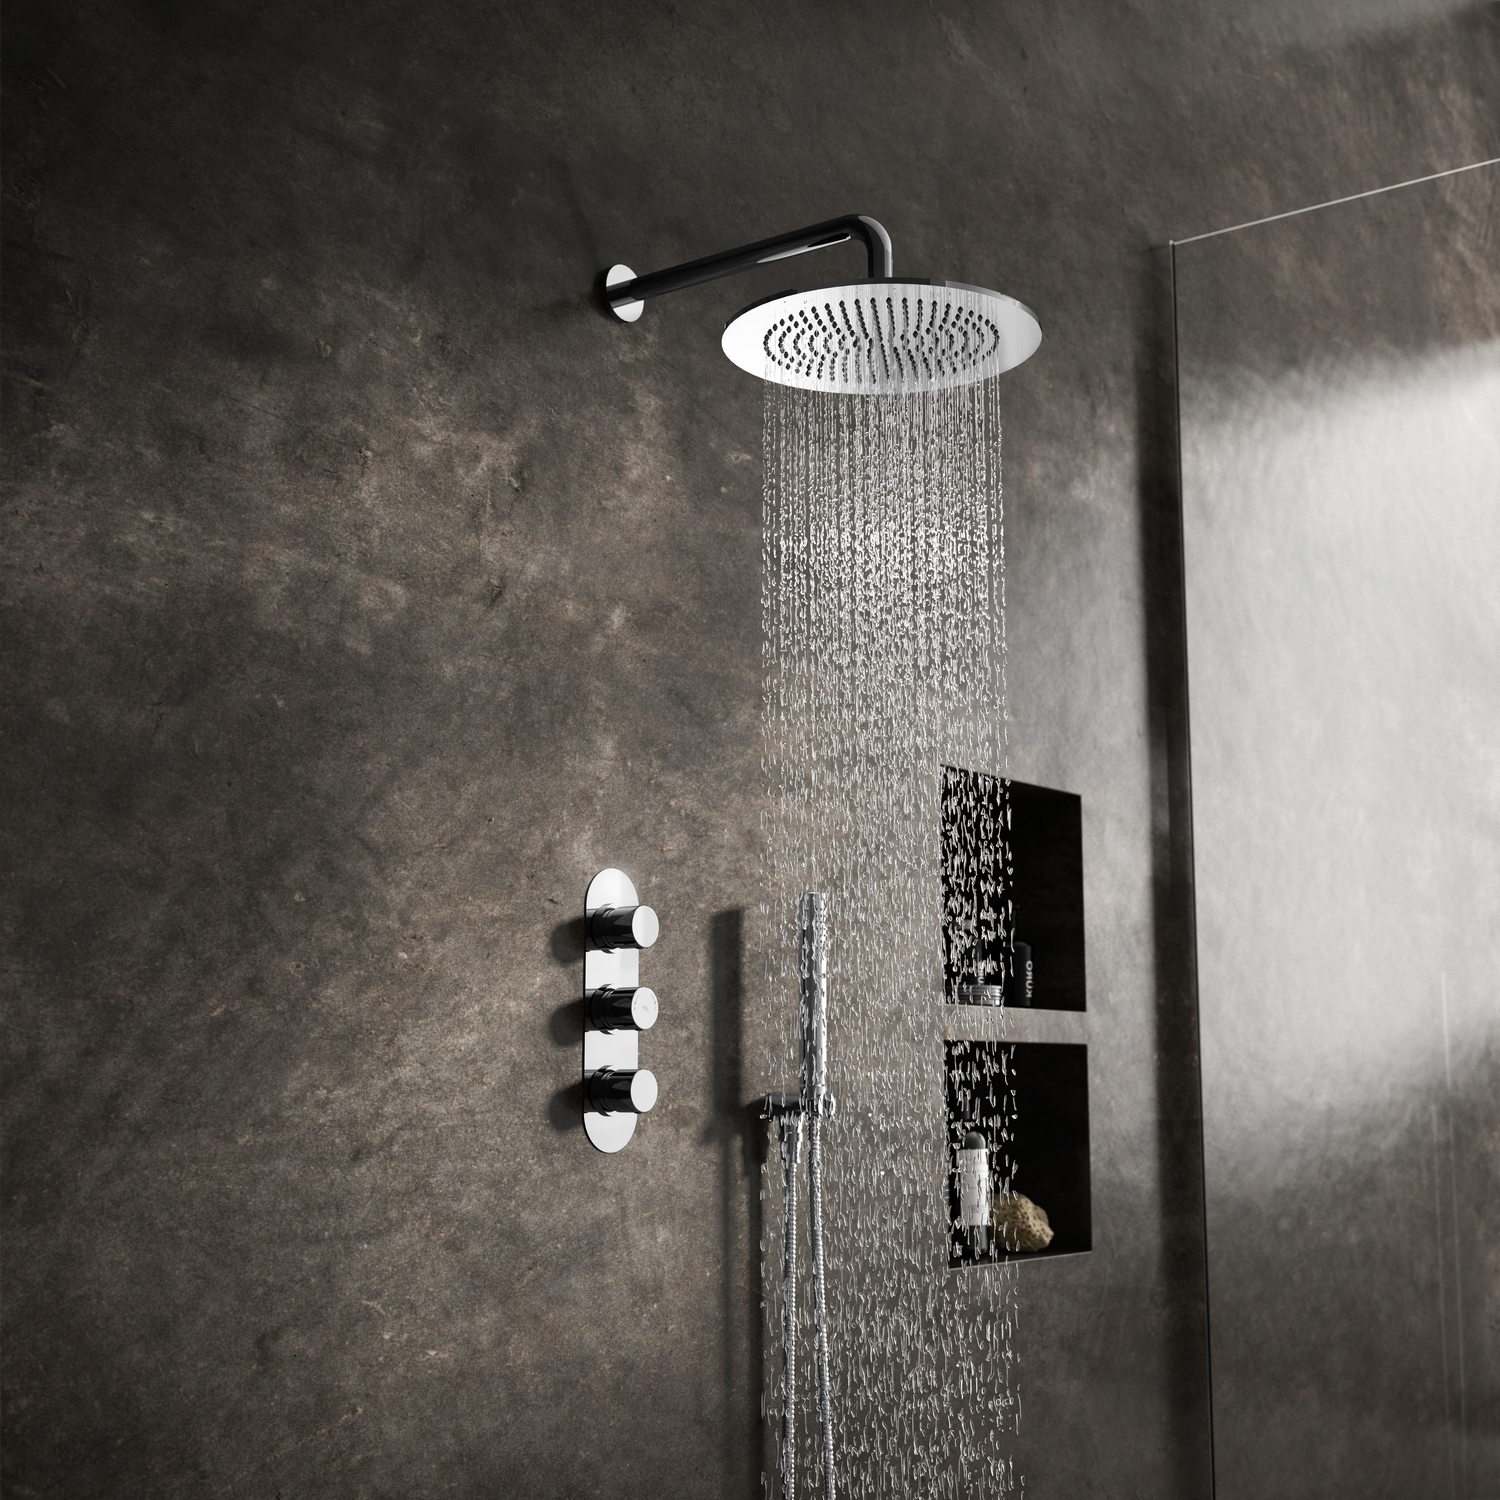
A dripping shower is a major nuisance. The constant noise is highly irritating, but the real problem goes far beyond the sound. A leaking shower wastes significant water, which drives up your monthly bills. Leaving a leak untreated can lead to severe water damage. You might notice unsightly water stains on the ceiling below the bathroom, peeling paint, or rapid mould and mildew growth. These issues are costly to repair and can pose health risks to your family. Addressing a leaky shower promptly protects your property and saves you money. This guide from Rockaya Global breaks down the common causes of leaks and provides clear, actionable steps to fix them yourself.
Identifying the Cause of a Leaky Shower
Before you start dismantling your bathroom, you must find the source of the leaky shower. Showers have multiple components, and water can escape from various places. Here are the most common culprits:
1. Mineral deposit build-up
Hard water leaves behind calcium and limescale. These deposits block the nozzles on your showerhead, forcing water to back up and leak from the joints. Learning how to clean a showerhead can prevent such issues.
2. Worn O-rings or washers
Rubber washers and O-rings create watertight seals inside your shower components. Over time, constant exposure to water causes them to harden, split, or perish.
3. Faulty seals or poor adhesive
The silicone sealant around your shower doors and tray prevents water from leaking out of the enclosure. If the sealant degrades, goes mouldy, or peels away, water will easily leak onto your bathroom floor. Check out our blog post on How to Remove Bathroom Sealant for further information.
4. Damaged shower tray
A cracked shower tray allows water to seep directly into the floorboards beneath. This often happens if the tray was installed on an uneven surface.
5. Loose connections
The pipes and fittings behind your shower unit can become loose over time due to changes in water pressure and temperature.
6. Worn shower hose or head
Shower hoses undergo frequent movement. The internal tubing can split, or the metal casing can unwind, leading to noticeable leaks. Choosing the Right Shower Hose for Your Bathroom is an essential yet overlooked decision.
7. Cracked grout or tiles
Water easily penetrates tiny cracks in your wall grout. Once water gets behind your tiles, it can damage the plasterboard and cause the tiles to loosen.
8. Blocked drain
If your drain is full of hair and soap scum, water will pool in the tray. If the water level rises too high, it can overflow or leak through weak points in the tray seals.
9. High water pressure
Excessive water pressure puts immense strain on your shower valves and pipe joints. This forces water out through the weakest points, resulting in a leaky shower.
10. Worn or cracked cartridge
The internal thermostatic cartridge controls the flow and temperature of your water. If this plastic component cracks, your mixer valve will drip continuously.
11. Incorrectly fitted solder connections
Poor initial plumbing work can leave weak solder joints in your supply pipes, leading to hidden leaks behind your walls.
12. Can you still use a leaky shower?
If you have a leaky shower, stop using it immediately. Continued use pushes more water into vulnerable areas, worsening the water damage.
13. What is the average lifespan of a shower?
Most high-quality showers last many years, but wear and tear are inevitable. Bristan offers a brilliant 5-year guarantee on products such as the Bristan Artisan Mixer Shower & Multi Function Shower Kit. Customers rate this product highly, leaving reviews stating it is “Very good quality” and “easy to fit and was a great replacement for the old shower.”
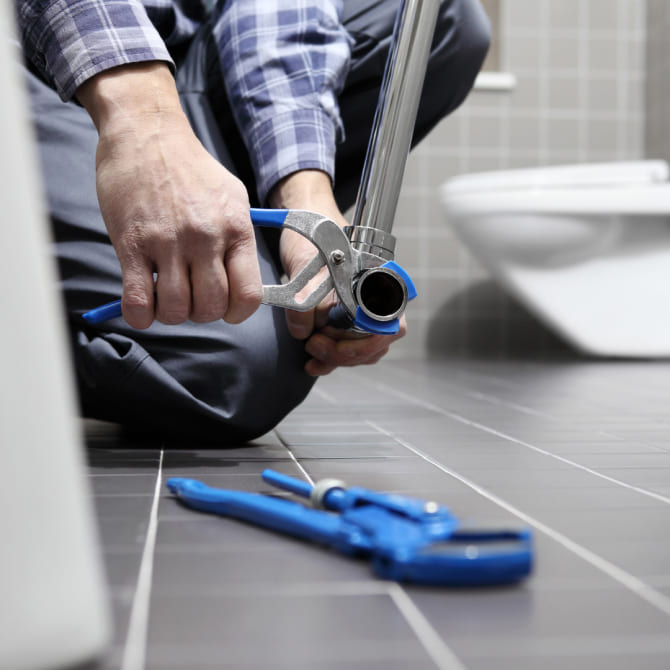
Essential Tools and Materials for Repair
Gather your tools before you begin. Having everything to hand makes the repair process much faster. You will need:
- Adjustable spanner
- Screwdrivers (flat-head and Phillips)
- Plumber’s tape (PTFE tape)
- Mould-resistant silicone sealant
- Sealant gun
- Replacement washers and O-rings
- White vinegar and a small brush
- Protective work gloves
- Clean, dry towels
Step-by-Step Guide to Fixing Common Leaks
Preparation: Turn off the water and power
Always turn off your main water supply at the stop tap before starting any plumbing work. Turn on the bathroom taps to drain any remaining water from the pipes.
If you are working on an electric shower, you must also isolate the power at the mains consumer unit. When isolating power for electric units, consider the safety features of your model. The Redring Glow 10.5kw Phased Shutdown Electric Shower is a highly rated replacement option if your current electric shower is beyond repair. Customers love the safety features, with one noting: “Biggest mistake I made was not realising my old shower didn’t have phased shutdown, meaning the first water out is scalding hot. Tried this Redring… DOES have phased shutdown and seems less fussy.” Other buyers state: “The Redring Glow Shower allows you to see the temperature of the shower water before you step into it, thus ensuring you don’t freeze or burn” and “Great price, easy to fit and looks nice… Will fit this again.”
Fixing a leaky showerhead
- Remove the showerhead: Unscrew it from the hose or the fixed arm.
- Clean with vinegar: Submerge the showerhead in a bowl of warm white vinegar for a few hours. Scrub the nozzles with a brush to remove limescale blockages.
- Inspect the O-ring: Look at the rubber washer inside the connection. If it looks flat or cracked, replace it with a new one.
- Apply thread seal tape: Wrap a few layers of PTFE tape clockwise around the shower arm or hose threads.
- Reattach: Screw the showerhead back on tightly by hand, then use a spanner for a final quarter-turn.
Addressing faulty seals
- Remove old sealant: Use a sharp utility knife or a dedicated sealant removal tool to scrape away the old, mouldy silicone.
- Clean the area: Wipe the area down with an appropriate cleaner and let it dry completely. Silicone will not stick to a wet surface.
- Apply fresh silicone: Load your mould-resistant silicone into the sealant gun. Run a smooth, continuous bead of sealant along the joint. Smooth it out with a damp finger or a profiling tool. Let it cure for 24 hours before using the shower.
Tightening loose connections
- Examine the pipework: Check the visible nuts holding your shower valve to the wall plate.
- Tighten fittings: Use your adjustable spanner to tighten any loose nuts. Do not overtighten, as this can crack the fittings.
- Upgrade if necessary: If tightening fails and the valve still leaks, upgrading the unit is a smart choice. The Bristan Prism Exposed Sequential Chrome Bottom Outlet Shower Valve is a fantastic modern option. Customers highlight the “Quick, efficient service, lovely shower. Excellent quality.”
Repairing a damaged shower tray
- Inspect for cracks: Look closely at the shower tray.
- Use a repair kit: For very minor hairline cracks, you can use a fibreglass or acrylic repair kit. Follow the manufacturer’s instructions carefully.
- Consider replacement: If the crack is large or the tray moves when you stand on it, you must replace the shower tray entirely to prevent severe structural damage to your floor.
Fixing cracked grout or tiles
- Scrape out damaged grout: Use a grout rake to remove crumbling grout from between the tiles.
- Apply new grout: Mix fresh waterproof grout, then push it deep into the joints with a grout float. Wipe away the excess with a damp sponge.
- Replace tiles: Carefully chisel out any cracked tiles and stick new ones in place with waterproof tile adhesive.
Clearing a blocked drain
- Remove debris: Remove the drain cover, then pull out any visible hair and soap build-up.
- Use a plunger: Place a plunger over the drain and pump vigorously to dislodge deeper clogs.
- Flush the system: Pour half a cup of baking soda down the drain, followed by a cup of white vinegar. Let it fizz for 15 minutes, then flush with boiling water from a kettle.
Replacing a damaged tap washer or cartridge
- Remove the handle: Pop off the decorative cap on your shower dial and unscrew the handle.
- Access the cartridge: Unscrew the retaining nut holding the thermostatic cartridge in place.
- Replace the part: Pull the old cartridge out and push the new, identical cartridge into place.
- Consider a new mixer: Sometimes a dripping mixer valve is too corroded to be repaired. The Aqualisa Aquarian Mixer Shower & Varispray Kit in Chrome is a bestselling replacement. Customers rate it highly: Doug M says it offers an “Excellent price and service. All fitted and good.” Ross Greening calls it “A replacement for our very old one, all works well, great product.” Tracey F enjoyed the “Efficient fast service item exactly what I wanted”, and Carl S noted the “Shower as described and delivered on time.”

When to Call a Professional
DIY repairs are highly effective for minor leaks, surface seals, and simple part replacements. However, some jobs require an expert.
You should call a qualified plumber if the leak is coming from pipes hidden behind your walls or under the floorboards. Always hire a professional for electrical issues, as mixing water and electricity is incredibly dangerous.
If you lack confidence in your DIY skills or want to upgrade to a premium system like the Aqualisa Aquatique Chrome Thermo Exposed Shower Valve with Classic Fixed 8-inch Drencher Shower Head, bringing in a plumber ensures a reliable installation. Customers who purchased this unit praise our service, stating: “First class service, keep up the good work.”
Keep Your Bathroom Leak-Free
Fixing a leaky shower quickly is the best way to prevent extensive water damage and reduce your household bills. By identifying the source of the drip and following the correct steps, you can easily fix a leaky shower with a few basic tools.
Remember to perform regular maintenance on your bathroom. Clean your showerhead every few months, check your silicone seals for black mould, and keep your drain free of blockages. A little preventative care ensures your shower stays in perfect working order for years to come. For more information, get in touch with us today at +1 (571) 581 7190 or use our easy-to-use contact form.